

Updated from the original publication on May 13, 2021.
Are you searching for a budget friendly gift for family and friends or just looking for some easy crafts to do with your senior loved one? We have compiled 5 do-it-yourself (DIY) projects that are fast, fun, and functional for everyday life. These DIY's can be made for yourself or made to be given as an affordable gift!
1. Garden Labels
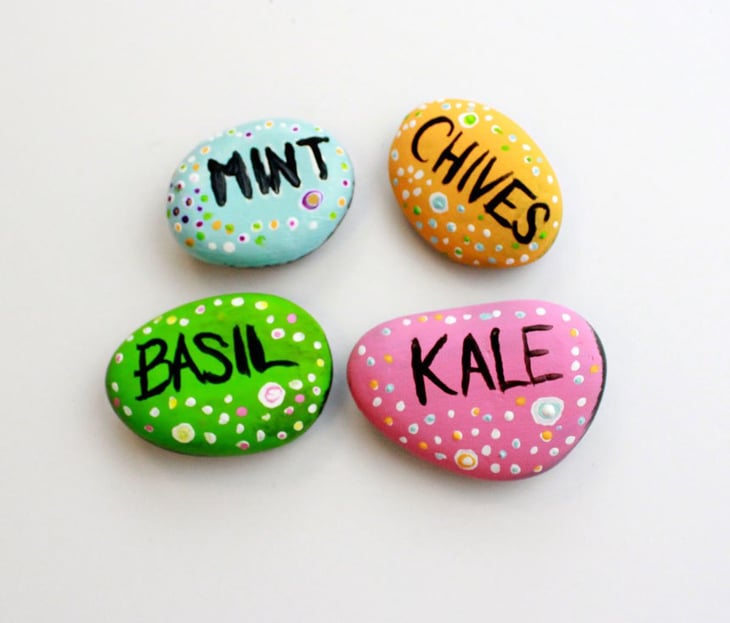 This DIY is an incredibly easy craft for the green thumbs of this world. There's nothing worse than mistaking your basil for mint, so here is a straightforward way to make sure you don't confuse any of your herbs, vegetables or any other plant while dressing up your garden a bit!
What you'll need: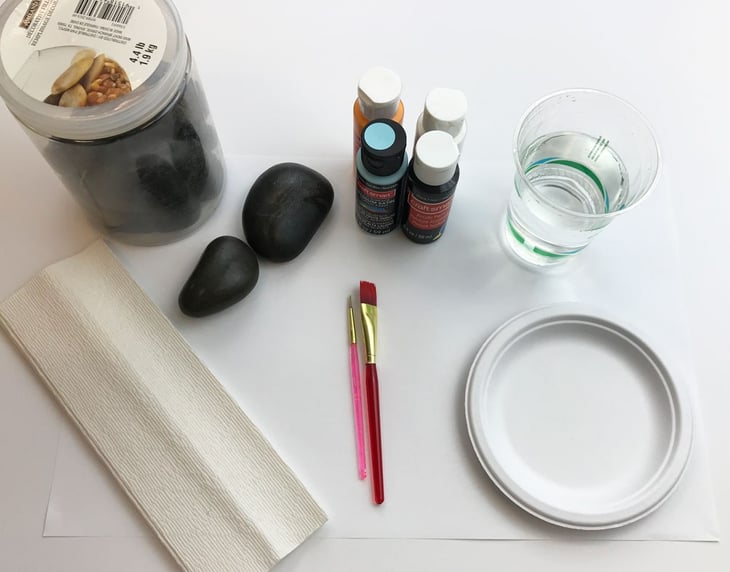
- River rocks
- Paint
- Various sized paint brushes
- Paper towels
- Water to rinse paint brushes
- Something to protect the surface you are working on
Step 1: Clean off your river rocks to make sure there is no residual dust on them.
Step 2: After they are dry, paint them to your heart's content. It's THAT simple!
For my labels, I started by painting the base color of all of the rocks I wanted to use. After a couple coats of base paint, I used black paint to write the labels and then made a series of dots around the word.
2. Decorative Mason Jars
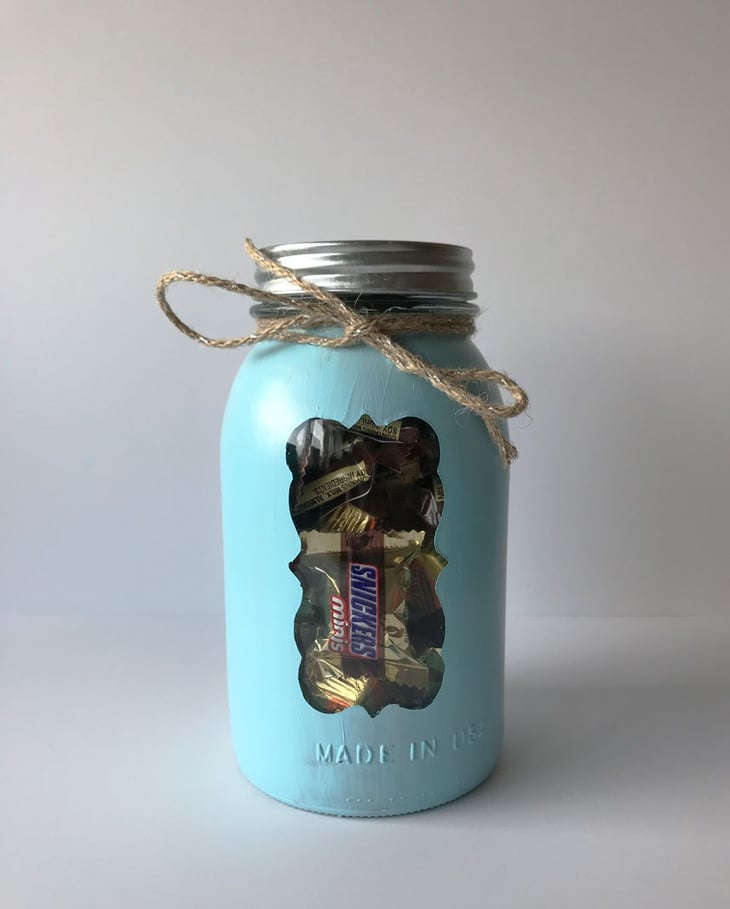
This DIY is an easy way to spice up your candy jar or make a decorative candle holder for your dining room table. Tailor it to any season to make inexpensive holiday decor!
What You'll Need:
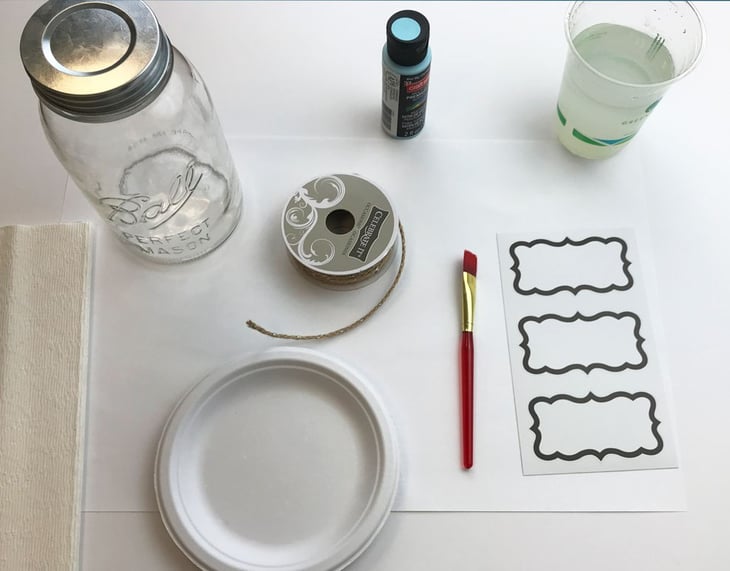
- Mason jar
- Stencil sticker
- Ribbon of choice
- Paint
- Paintbrush
- Paper towels
- Something to protect the surface you are working on
- Water to rinse paint brush
Step 1: Place the sticker you choose onto the mason jar where you would like your "window" to be.
Step 2: Paint the entire mason jar a color of your choice. (I had to do about three coats to make the paint look opaque on the glass.)
Step 3: After the paint dries completely, peel off the sticker. *Tip* If the paint bleeds under where the sticker was, use a small blade to get a smooth edge.
Step 4: Next, take a ribbon or string of your choice and tie it around the neck of the mason jar.
Step 5: Fill the jar with candy, stones, or decoration of your choice, screw the lid on and voila!
3. Beaded Bookmarks
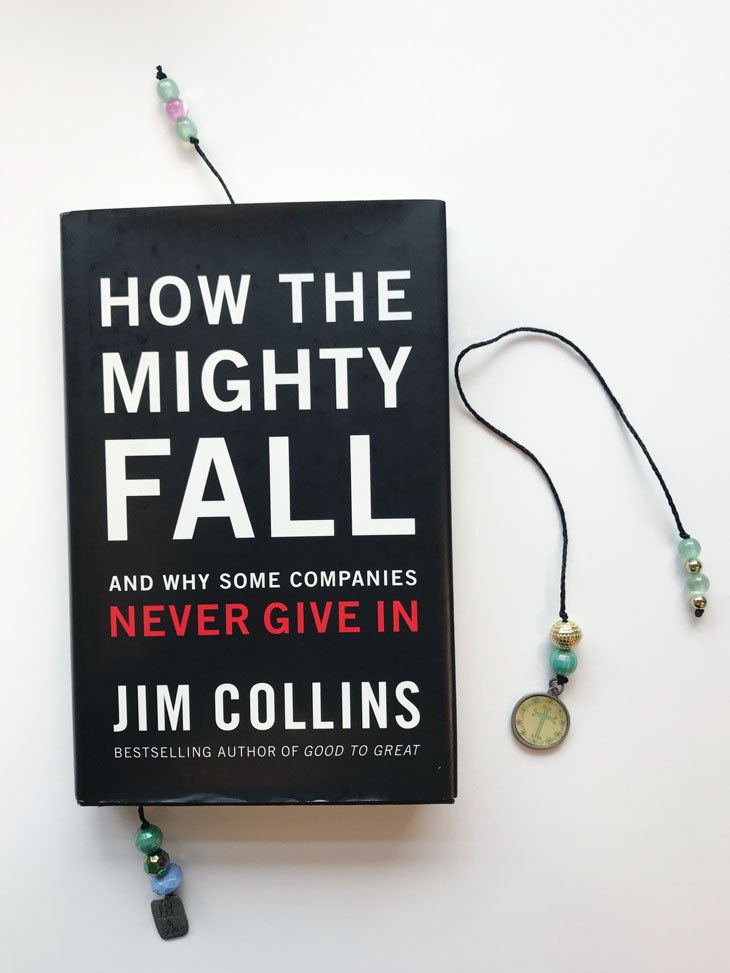 This craft is a bookworm's delight! These stylish charmed bookmarks allow you to keep your place in your favorite book while adding a little bling! You can add charms to this to keep your favorite saying or symbol nearby.
What you'll need:
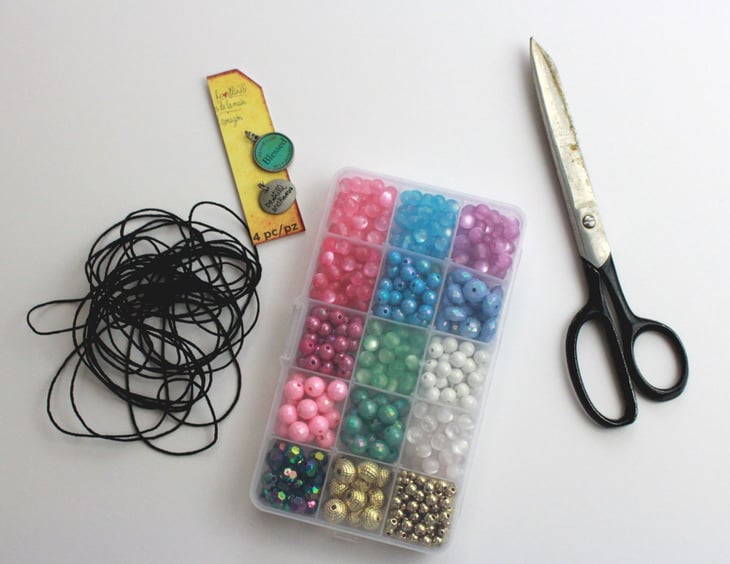
- String
- Scissors
- Beads
- Charm(s)
- Book (only for measurement)
Step 1: Start by measuring your string out to a length that will hang out both ends of a book.
Step 2: Tie a charm of your choice onto the bottom of the string.
Step 3: Next, string through the beads of your choice to meet the base of the charm. After you have the beads you like, tie a simple knot as close to the base of the beads as possible.
Step 4: Move to the top 1/4 of the string and tie a basic knot, leaving enough room for the beads you would like to add.
Step 5: Add the beads of your choice and tie off the string at the top.
Step 6: Cut off the excess string from your knot, and you have yourself a beaded bookmark!
4. Magnets
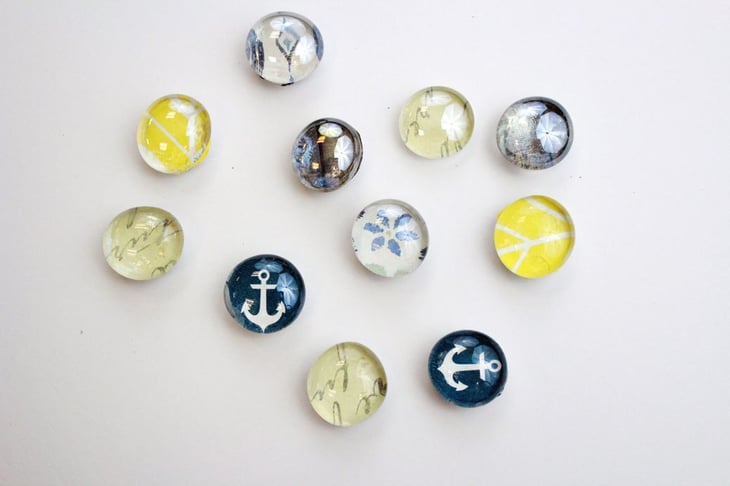 This fun and easy DIY is a great way to customize any magnetic surface! For this craft, you can use whatever kind of paper you want, making the opportunities endless!
What you'll need:
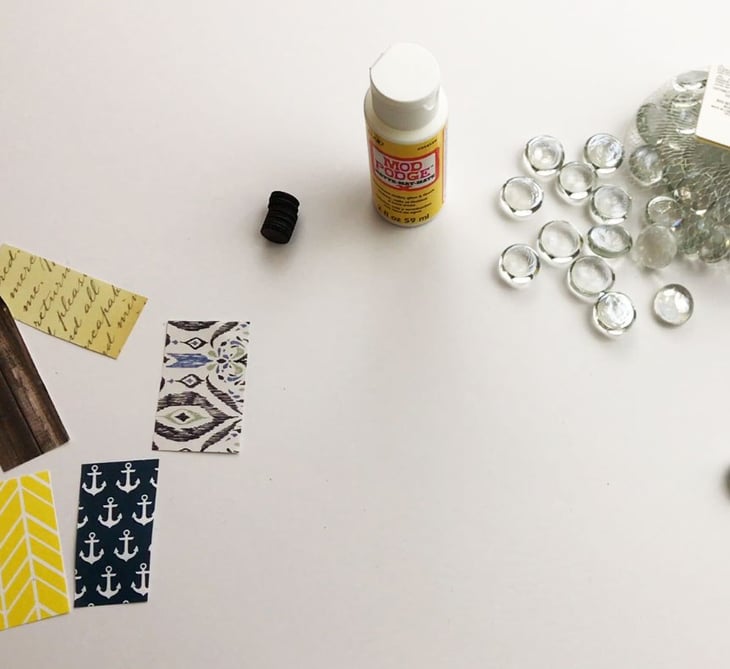
- Clear filler stones
- Small magnets
- Scrapbooking paper
- Mod Podge
- Scissors
Step 1: Put a small dot of Mod Podge on the clear stone.
Step 2: Place the stone on top of the piece of scrapbooking paper you would like to show through the magnet. Press down hard to disburse the Mod Podge evenly.
Step 3: Use scissors to cut the scrapbooking paper around the perimeter of the stone.
Step 4: Put a small dot of Mod Podge on your magnet and squeeze it onto the backside of your stone and scrapbooking paper.
5. Memory Box
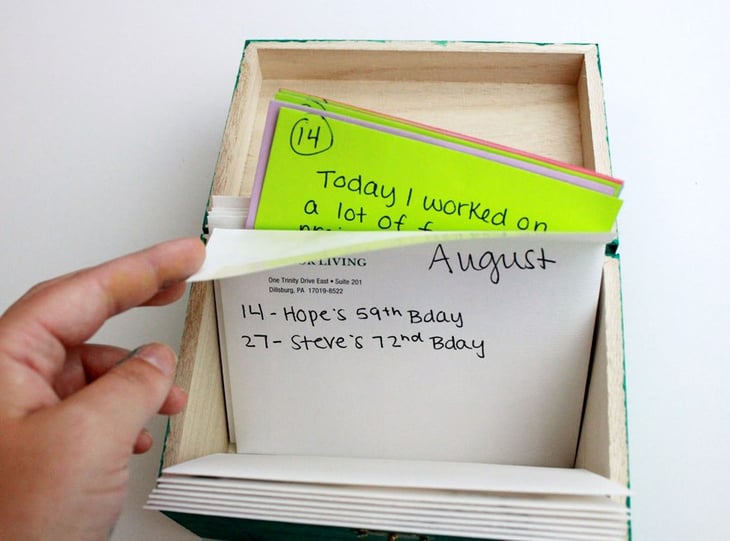 This fun twist on a journal is a fun and handy craft for seniors, especially for those suffering from any stage of dementia. The memory box is designed to help keep track of important events and to be able to recall your previous days. The box contains an envelope for each month of the year that is respectively filled with cards to match with the number of days in the month. Each day, a resident can pull out a card and write one thing they did that day or something that made them smile. The box not only adds an activity to participate in daily, but it also keeps seniors writing and helps them remember important dates and moments from earlier in the week.
What you'll need:
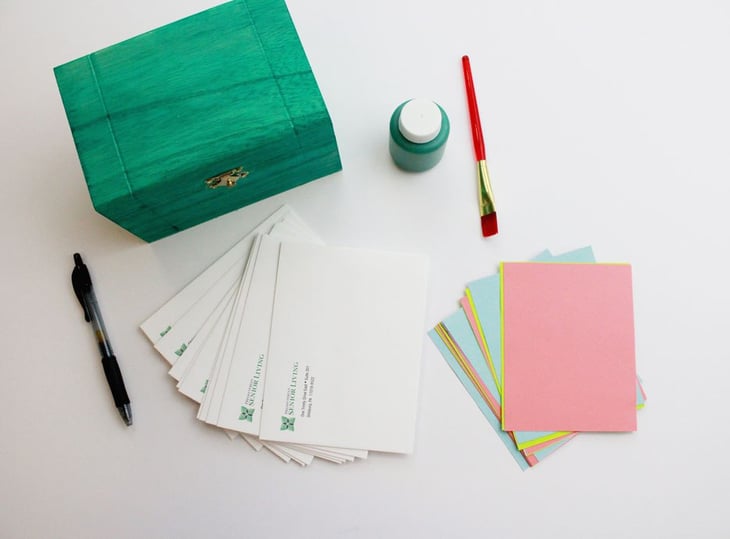
- Box
- Paint
- Paintbrush
- 12 envelopes
- 365 notecards (or pieces of paper)
- Pen
Step 1: Paint your box to the color of your choice.
Step 2: Label your envelopes for all of the months of the year.
Step 3: Label each note card for the day of the month and place them in the respective envelope.
Step 4: Write important dates to remember such as birthdays and holidays on the front of each envelope.
Step 5: Start writing in your memory box each day!
What do you think of our 5 DIYs? Comment down below some of your favorite DIY's for seniors and let us know if you tried any of ours! For more information on engaging and rewarding activities for residents, download our eBook below!